Network-Attached Storage with a Raspberry Pi
Ever wished to have an energy-efficient NAS with just a Raspberry Pi, and an Hard Drive? Just follow these steps to setup your own Samba share with automatic spindown. Short on time? Skip to TL;DR section.
NOTE: I’m using this exact setup on a 5$ Raspberry Pi Zero. The total price including a power supply, an SD card and a Gigabit Ethernet to USB adapter is still below 30$.
Let’s start by plugging our drive to the Raspberry Pi and adding the partition to fstab with sudo nano /etc/fstab (just add the following line at the end of the config file). We use the noauto flag to avoid our Pi freezing if drive is not connected at boot.
1
UUID=8776d0a3-875a-47e9-8f26-33b261fb834a /media/nasdisk ext4 rw,defaults,noauto 0 0
NOTE: you can find your drive’s UUID with
blkid /dev/sda1(replacing /dev/sda1 with your partition).
Since we used the noauto flag, the system won’t mount this drive. We have to mount this drive ourselves. Since we run the command in the background with & the Raspberry Pi will still boot without delay even when the drive is not connected.
Open your crontab configuration with sudo crontab -e and, at the end of the file, add the following lines.
1
2
PATH=/sbin:/bin:/usr/sbin:/usr/bin:/usr/local/sbin:/usr/local/bin
@reboot mount /media/nasdisk >/dev/null 2>&1 &
NOTE: if you don’t want to add the
PATHvariable to your crontab you can use full path to the binaries you run (find full path ofmountbinary withwhich mount).
You should also manually create the mountpoint directory to avoid unexpected surprises.
1
sudo mkdir /media/nasdisk
Since we don’t want to waste power, we spin down the drive after 15 minutes of inactivity. The following line does the trick and it must be added to crontab configuration.
1
@reboot hdparm -B127 -S180 /dev/disk/by-id/ata-ST2000DM001-1ER164_W4Z06AY0 >/dev/null 2>&1 &
NOTE: you can find your drive’s ID by manually checking the output of
ls -l /dev/disk/by-id/.
Reboot and ensure your drive is accessible at /media/nasdisk. You might also want to leave the Raspberry Pi unused for 15 minutes and check that the drive actually spins down.
Install Samba and create a new user specific for your share and give it a Samba password (Samba password doesn’t have to be the same as the UNIX password).
1
2
3
sudo apt-get install samba
sudo useradd sambauser
sudo smbpasswd -a sambauser
Then configure your share with sudo nano /etc/samba/smb.conf; append the following lines.
1
2
3
4
[sharename]
  path = /media/nasdisk
  read only = no
  valid users = sambauser
Note: if you want to customize your share you can find more info about smb.conf file on on it’s manpage.
Do not forget to restart Samba service with sudo service smbd restart.
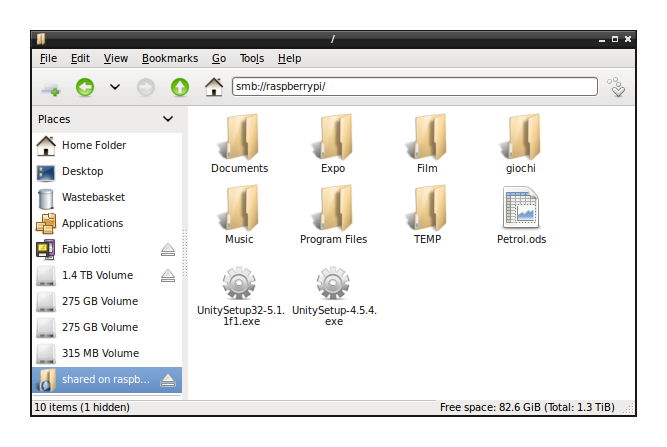
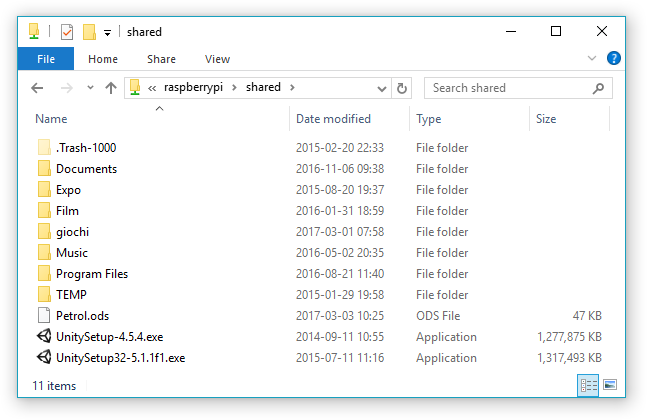
Share will be accessible at \\raspberrypi\sharename\ (if it doesn’t work, replace raspberrypi with your Raspberry Pi’s IP address).
Thanks for reading, I hope this guide will be useful to you! Do not forget to leave your opinion in the section below.
TL;DR
The following sample commands will result in mounting /dev/sda6 in /media/nasdisk on boot and sharing it at \\raspberrypi\shared\, with the user sambauser and password mypassword. Spinning down the drive ata-ST2000DM001-1ER164_W4Z06AY0 after 15 minutes of inactivity.
WARNING: do not forget to customize the
driveanddriveidvariables. Besides that, if you are on Raspbian, you can just copy/paste this commands and everything will magically work!
1
2
3
4
5
6
7
8
9
10
11
12
13
14
15
16
17
18
19
20
21
22
23
24
25
26
27
28
29
30
sudo su

drive=/dev/sda6
driveid=ata-ST2000DM001-1ER164_W4Z06AY0
mountpoint=/media/nasdisk
sambauser=sambauser
sambapassword=mypassword
sharename=shared

echo UUID=$(blkid -o value -s UUID $drive) $mountpoint ext4 rw,defaults,noauto 0 0 >> /etc/fstab

crontab - << EOF
$(crontab -l)
@reboot $(which mount) $mountpoint >/dev/null 2>&1 &
@reboot $(which hdparm) -B127 -S180 /dev/disk/by-id/$driveid >/dev/null 2>&1 &
EOF

apt-get install samba

useradd $sambauser
echo -ne "$sambapassword\n$sambapassword\n" | smbpasswd -a $sambauser -s

cat >> /etc/samba/smb.conf << EOF
[$sharename]
  path = $mountpoint
  read only = no
  valid users = $sambauser
EOF

service smbd restart